|
Wall Papering Your Dollhouse Before You Build
By Deb Roberts
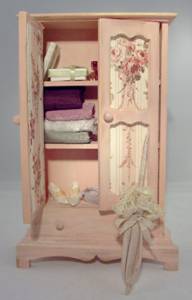
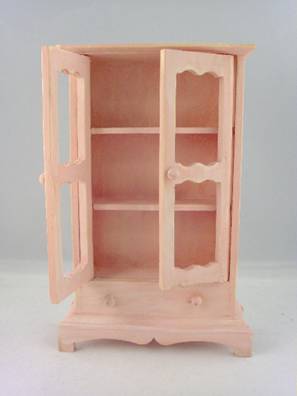
Wondering what to do with those scraps of leftover wallpaper? Use them to dress up a craft store hutch and turn it into a shabby chic delight!
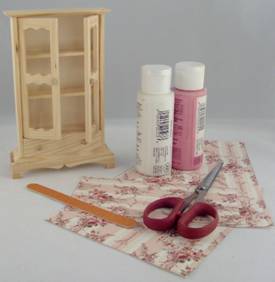
Supplies:
Craft store hutch with doors (your choice of style)
Wallpaper scraps
Poster board or card stock
Paint to coordinate with wallpaper
Lighter paint for patina
Grey paint or a pencil for aging
Emery boards
Scissors
Tacky glue
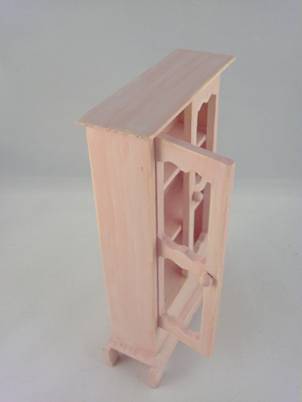
Craft store hutches come in a dozen different styles, so the choice is up to you as long as it has open doors for the wallpaper insets.
Begin by painting the hutch in your base color. I chose the dominant color in the wallpaper but it can be just as effective using one of the secondary colors in the pattern.
Allow the paint to dry completely, then use an emery board to peel down the paint along the edges. Remember that this peeling is going to be in places where the paint would be naturally worn down by use over the years so go a little heavier around the edges and handles. On the edges, be sure to sand with the grain of the wood so that the “wearing” sits on top of the wood but paint remains deep in the grain. Go over surface areas where natural wearing would occur as well.
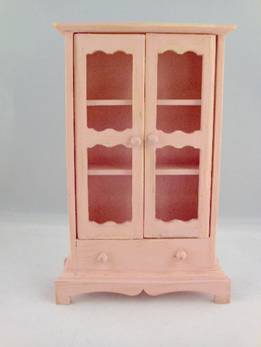
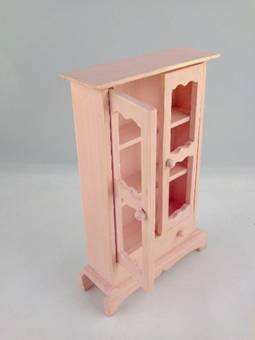
Adding a slight patina to the wood gives it a more natural look. For most colors, a slightly lighter shade makes the perfect patina so you can simply add a couple of drops of white paint to your base color. Since I’m using a light peach-pink base, I mixed a bit of ivory paint into my base for the patina and then watered it down to a wash. Wash the paint over the surface lightly in random areas, using your finger or a slightly damp rag to blend it around the edges if necessary. Allow the patina to dry.
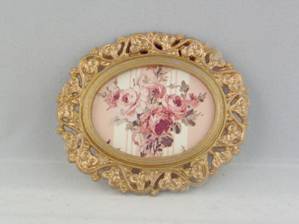
While I was waiting for the paint to dry, I found a picture frame and fussy cut a piece of the same wallpaper to go in it for a lovely bit of art to hang in the same room as the cupboard.
A very light grey paint dry brushed around the edges works best for aging, or use a pencil and apply a very small amount of lead to the area you want to age, then use the pencil eraser to remove the lead and leave a smudge. The aging will be added to surfaces that show the most wear, again on the edges and around the handles and on the edges of the shelves. Use a very light touch when adding the aging.
Time to add the wallpaper insets to the doors! Measure the space on the back of the doors that will cover the entire opening to just over the edges. If the doors have a two-over-two pattern as this hutch does, you can use the same pattern in both top and bottom or use one design for the top openings and another design for the bottom.
Cut pieces of posterboard or cardstock to fit the opening, then fussy cut your wallpaper to the same size. ‘Fussy cut’ means to cut the pattern you wish to use from the whole of the wallpaper. With some patterns, this means sacrificing a great deal of paper to get the specific part you want, but since these are scraps of wallpaper, you don’t have to worry about the extravagance.
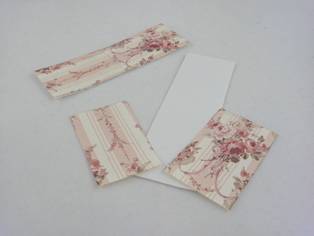
Spread a thin, even layer of tacky glue over the posterboard and glue the wallpaper to it. Press firmly so that there are no bubbles under the wallpaper.
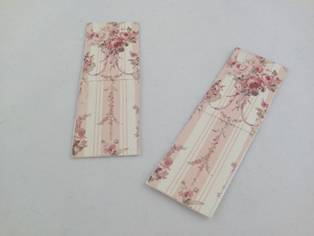
You can glue another piece of wallpaper to the back so that you have the same look of an inset on the inside of the hutch, or you can paint the back of the posterboard the same color as your base coat.
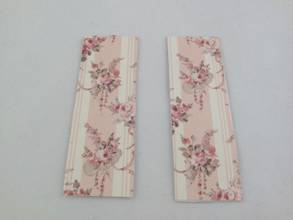
It’s a good idea to place the piece under a sheet of waxed paper and weight it with books so that it dries flat. While you’re waiting for the glue to dry, come and chat with us on the Greenleaf forum and tell us what you’re up to!
After the glue has set well, dry fit the pieces to the back of the doors and see if you need to trim off any excess. Once you are satisfied that the size is correct, glue the inset into place on the back of the door.
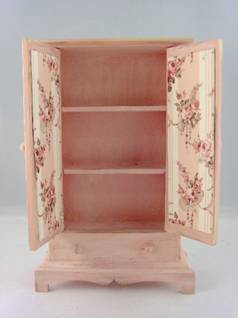
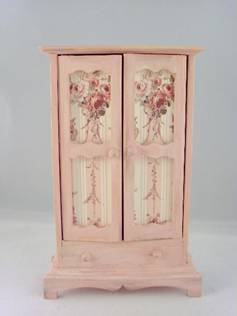
With just a bit of scrap wallpaper and an inexpensive craft store hutch, you’ve created a delightful bit of shabby chic furniture for your dollhouse! Just don’t place the hutch in the room where you’ve used the same wallpaper or you’ll get the ‘green screen’ effect and parts of the hutch will just disappear into the wall. Use it in an adjoining room or elsewhere in the house to give a lovely coordinated look to your mini home. These hutches work great as bedroom or bathroom features, but are also fabulous in a kitchen or dining room. Each one will take on a different personality depending on the wallpaper that you use.
This is only one use for wallpaper scraps. Tracy Topps shares a few of her favorite wallpaper tips with us:
Fold the wallpaper into pleats and it makes excellent curtains.
You can also make cornices with wallpaper scraps.
Cover a wooden or paper mache box with wallpaper to make a trunk.
Mix and match wallpaper and cut to size to make plates and placemats for a coordinated table.
Fold wallpaper into a wastebasket.
As miniaturists, we know that there is always a reason for saving those little scraps of everything. Have some fun with your wallpaper scraps, then come and join us on the forum to share your own creations!
return to newsletter home... |